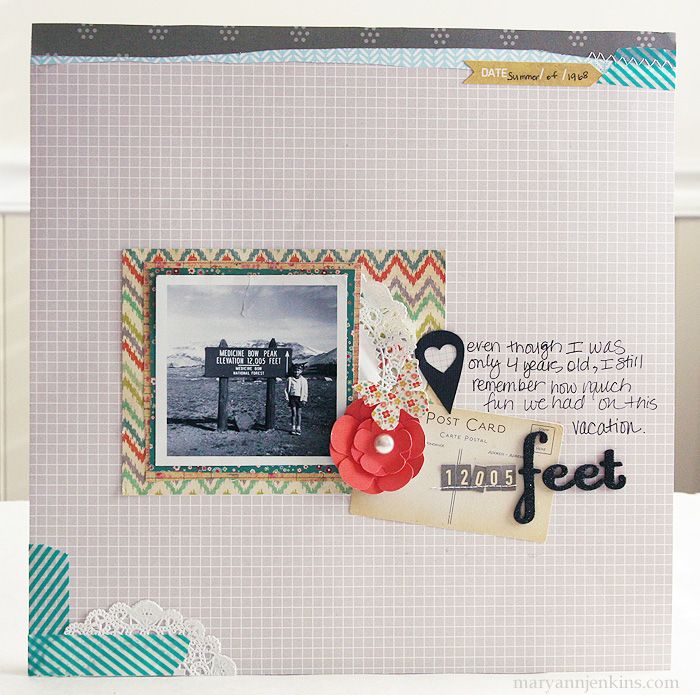
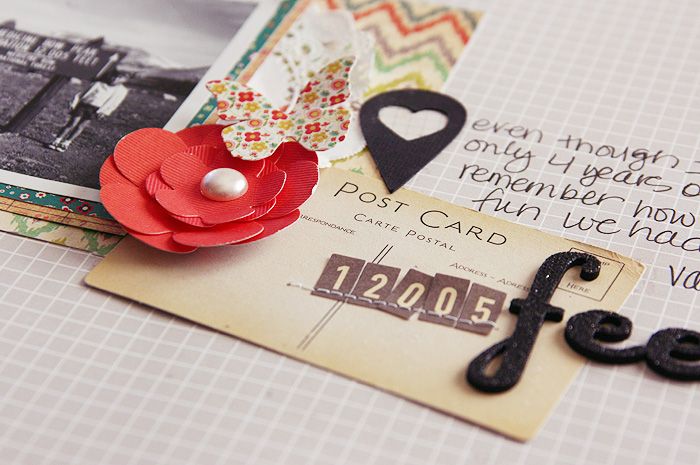
Hi Love My Tapes readers! I'm back today with a new layout featuring some of my favorite Washi Tapes. You know, I just can't get enough of that Teal diagonal striped Washi Tape!! I thought it would be fun this week, to use my tapes to create some Chevrons for my layout...what a great way to combine two of your favorite things!!
To create the larger Chevron pieces, I used several of the tapes and placed them over White cardstock. Then I used my Cameo to cut out the Chevron shapes. I also added a few smaller Chevrons, with just the Washi Tape folded over itself, to create a triangle. Then I cut the triangle to a point in the center, to create the Chevron shape rather than a triangle shape. And I used one more strip of the Teal tape, to hold down the Vellum paper that I cut the fringe pattern on. It worked perfectly to secure the Vellum, without having to worry about any adhesive showing through the transparent Vellum!
It's always fun to find new ways to use your Washi Tapes and revisit some of your favorite past uses!!
Wednesday, February 27, 2013
Monday, February 25, 2013
February Guest Designer, Keri Babbitt - Part Two
Hello and Happy Monday Love My Tapes Friends!
Today, we are sharing Part Two with a special designer, Keri Babbitt, our February Guest Designer. She is back with 2 more projects that you will just LOVE.
I am in love with this card. It is such a perfect design and so wonderfully done. Let's hear what Keri has to say about it.
I decided to use the negative-space tape-title to create a sentiment for my card. The bold red heart tape layered perfectly under the polka-dot tape. I cut an arrow and ribbon-strip from the pink fabric tape, leaving on the paper-backing so it would keep it's shape on the sides of the card.
Keri's second card is so amazing. Here is what she has to say about it.
More diagonal tape strips here...love how the tapes have a totally different look when placed on dark cardstock. The fabric-tape rosette was really simple to create, just by pleating the tape back against itself as I wound it around a 1 1/2 punched paper circle.
Thank you again Keri for joining us this month. Please be sure to stop by Keri's blog and say Hi!
Labels:
card,
cards,
Guest Designer,
Keri Babbitt,
washi tape,
Washi Tapes
Friday, February 22, 2013
Pink & Red!
Have you seen this months Pink & Red challenge?? I thought I would play along too especially since pink is my favorite color. How's this for a little room decor!
I started with a simple $1.00 wood frame from my local craft store. I gave the frame a quick coat of white paint so the washi's with the white background would have a true white base. After the frame had completely dried, I picked some of my favorite pink and red washi tapes, and started layering!
I worked from the bottom edge of the frame to the top, and didn't worry about keeping the washi tapes in any particular order. I just rolled off a piece of tape and kept adding more and more. Originally I had planned to add a photo to the frame, but after I had it finished, I loved the look of just the washi covered frame.
This was such a quick and easy project to make and would be perfect to do with kids or as a party favor for guests to make and take home.
Thanks for stopping by today!
Labels:
frame,
Love My Tapes Washi Tape,
Mary Ann Jenkins,
washi tape
Wednesday, February 20, 2013
The Color of Love
Even though Valentine's Day has come and gone, I'm sure you have some great photos from the Holiday, that you are ready to get on a layout. And, if you're like me, when you think of Valentine's Day, you probably think of the colors Pink and Red! Well, that just happens to be our challenge this month at Love My Tapes. You can play along with us this month for the chance to win some awesome Love My Tapes goodies! If you missed the details of the challenge, check them out HERE.
Tina did a totally adorable layout, to start off this month's challenge and I had the chance to play along too. Here is what I came up with for the Pink and Red challenge:
I chose a light Pink background paper from one of my DCWV stacks and mixed in some Red heart patterned paper from Pebbles Inc. Then I started accenting with Pink and Red embellishments and pulled in some White, Black, and Gray to add a little contrast to my page. I used several of my Love My Tapes Washi's on this page, that were perfect with this color scheme. Can you spot them? I have the Pink Washi with the White doodle lines across two of my hearts, and it is also included as a border under my photo with the Pink & Red patterned Washi and the With Love Washi. And I added one more of the Washi Tapes, that fit in perfectly with this theme...the heart pattern at the bottom of my page.
So get out those Valentine's Day or loved theme photos and start working on your Pink and Red challenge entry! You have until February 28th, to link up HERE.
Monday, February 18, 2013
Java?
Good day Love My Tapes fans!
Kathy Martin here with a dose of caffeine and craftiness to start your week off on the right foot.
How many of you love coffee? I love the stuff! I recently saw a funny quote on Pinterest that said, "I look forward to going to bed because I know I get coffee in the morning!" :)
Have a great week everyone and thanks for visiting!
Friday, February 15, 2013
A Layout to Share!
Hello and Happy Friday!
Today I have a layout to share using another one of my favorite washi tapes :)
Today I have a layout to share using another one of my favorite washi tapes :)
Teal/turquoise and gray is such a great color combination, I love the mixing the two together!
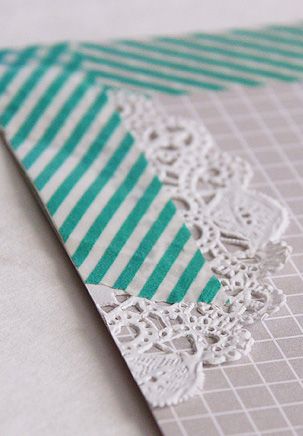
See that cute little doily I tucked in next to the photo? I wanted to add a little bit more on the layout, so I cut just a small piece, and layered it up with the washi at the bottom of my page. Love it!
Thanks for stopping by today, and enjoy your weekend!
Wednesday, February 13, 2013
February Guest Designer - Keri Babbitt, Part One
Hello and Happy Wednesday Love My Tapes Friends!
Today, we are highlighting a special designer, Keri Babbitt, our February Guest Designer. Let's get to know her a little better.
Hi, all you tape fans out there...I'm happy to be joining you here at Love My Tapes for the lovely month of February. I'm a designer who loves creating feminine projects for/about my two daughters. I love all things vintage, nostalgic, modern, and clean. Yep, I'm a walking contradiction, lol. I am inspired by unusual color combos, art mediums of every type, and of course, Pinterest. I'm excited to be sharing some fun projects with you, and hope they inspire you to break out the tapes and get creating!
You can find out more about me, my projects, and sketches, over at my blog: http://kensingtondesign.blogspot.com
Keri's first layout share is a completely adorable layout that uses washi tape in a fun and creative way. Here's what Keri has to say about her layout.
My first thought when I sat down to create my first GDT project, was to see if my Cameo would cut out a tape-covered title...it totally did. :) I inked the edges and popped it off the page with some dimensional adhesive. I also used three vertical tape strips to ground the photo, and created a fun faux-bois frame for the photo mat.
I completely adore Keri's second layout! It is full of fresh color and wonderful design. Here's what she has to say about it.
With this one, I went with lots of fun tape-layering on the diagonal. I put the teal-stripe tape on white cardstock before punching out the little hearts, then carefully peeled it back up, to place it on the layout background.
Wow! Those are amazing layouts! Thank you Keri for sharing your creativity and talent with us. Be sure and stop by later in the month for Part Two of GDT projects.
Labels:
Guest Designer,
Keri Babbitt,
Layouts,
washi tape,
Washi Tapes
Monday, February 11, 2013
February Challenge - Pink and Red!
Hello and
Happy Monday! Tina here today with our February challenge. In the spirit of Valentine's Day, we thought we would challenge y'all to create something in PINK and RED! Are you ready?
Let get to the details!
2. The challenge is open until February 28,
2013.
Let get to the details!
1. Create a Layout, Card, or Off the Page project that incorporates Pink and Red. Washi, Lace and/or fabric tape must be used in your project, but does need to be pink or red. Think outside the
box and let's get creative. Please let us know how you were
inspired.
3. A randomly chosen
winner will win some LMT goodies.
4. Link up your
projects below.
To get y'all
started, I created a layout about LOVE, Puppy Love that is! (featuring my two little furry friends Moose and Flikka)
I've used several Love My Tapes product on my layout. They include:
I wrapped washi over several wooden shapes - how fun! (and super easy)
And a couple more close-ups. The paper collection is from Authentique! :)
Get out your supplies and get creating! We can't wait to see your creations.
Subscribe to:
Comments (Atom)


