

The sun is shining, the birds are singing and the flowers are blooming everywhere. I love making different types of flowers out of patterned paper and our double sided adhesive is perfect for holding layer upon layer of card stock beautifully. It also holds ribbon and different fibers well too like the pom pom accent on the card featured above.
Here's a quick and easy layered flower tutorial.
You'll need a Slice to copy this exact example, I used the Basics 2 cartridge. You can also use any flower shaped die cut template
 First I cut 2 3" flowers, 2 2 1/2" flowers and 1 2" flower.
 Next use some distress ink to ink the edges
Next run a strip of Love My Tapes double sided adhesive across the middle of each die cut and layer the flowers from largest to smallest.
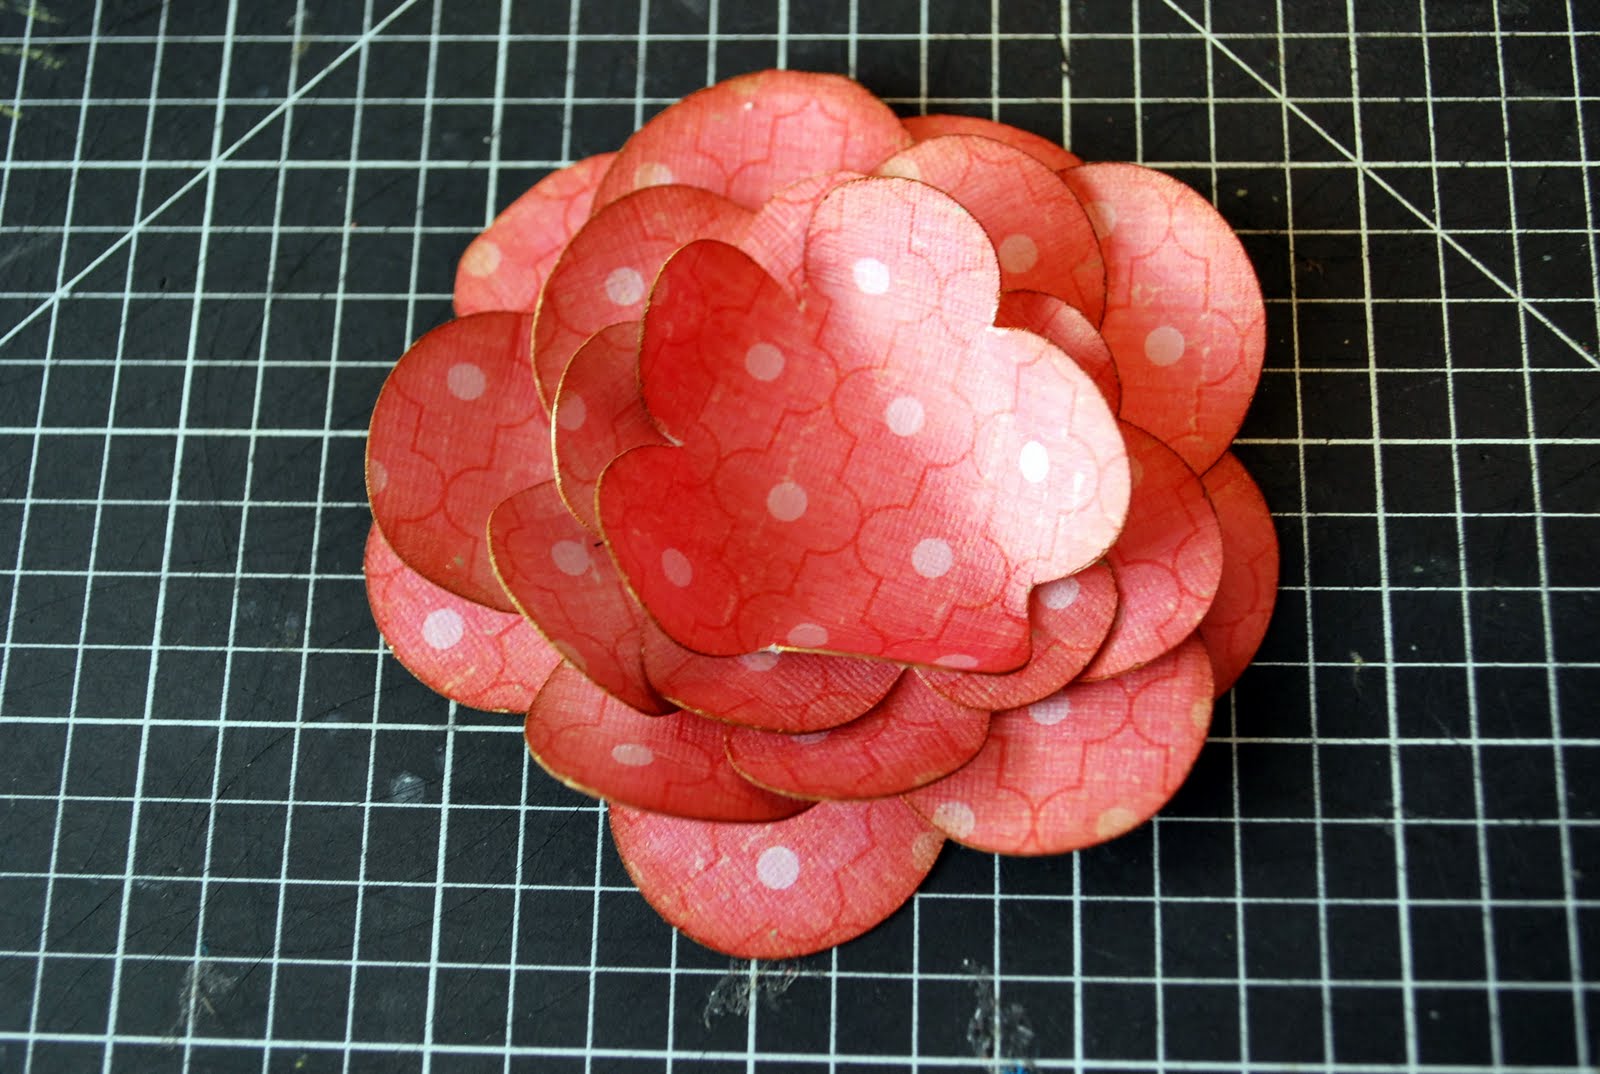 Next bend each petal upwards and play with the shape until you are happy with the way your flower looks.
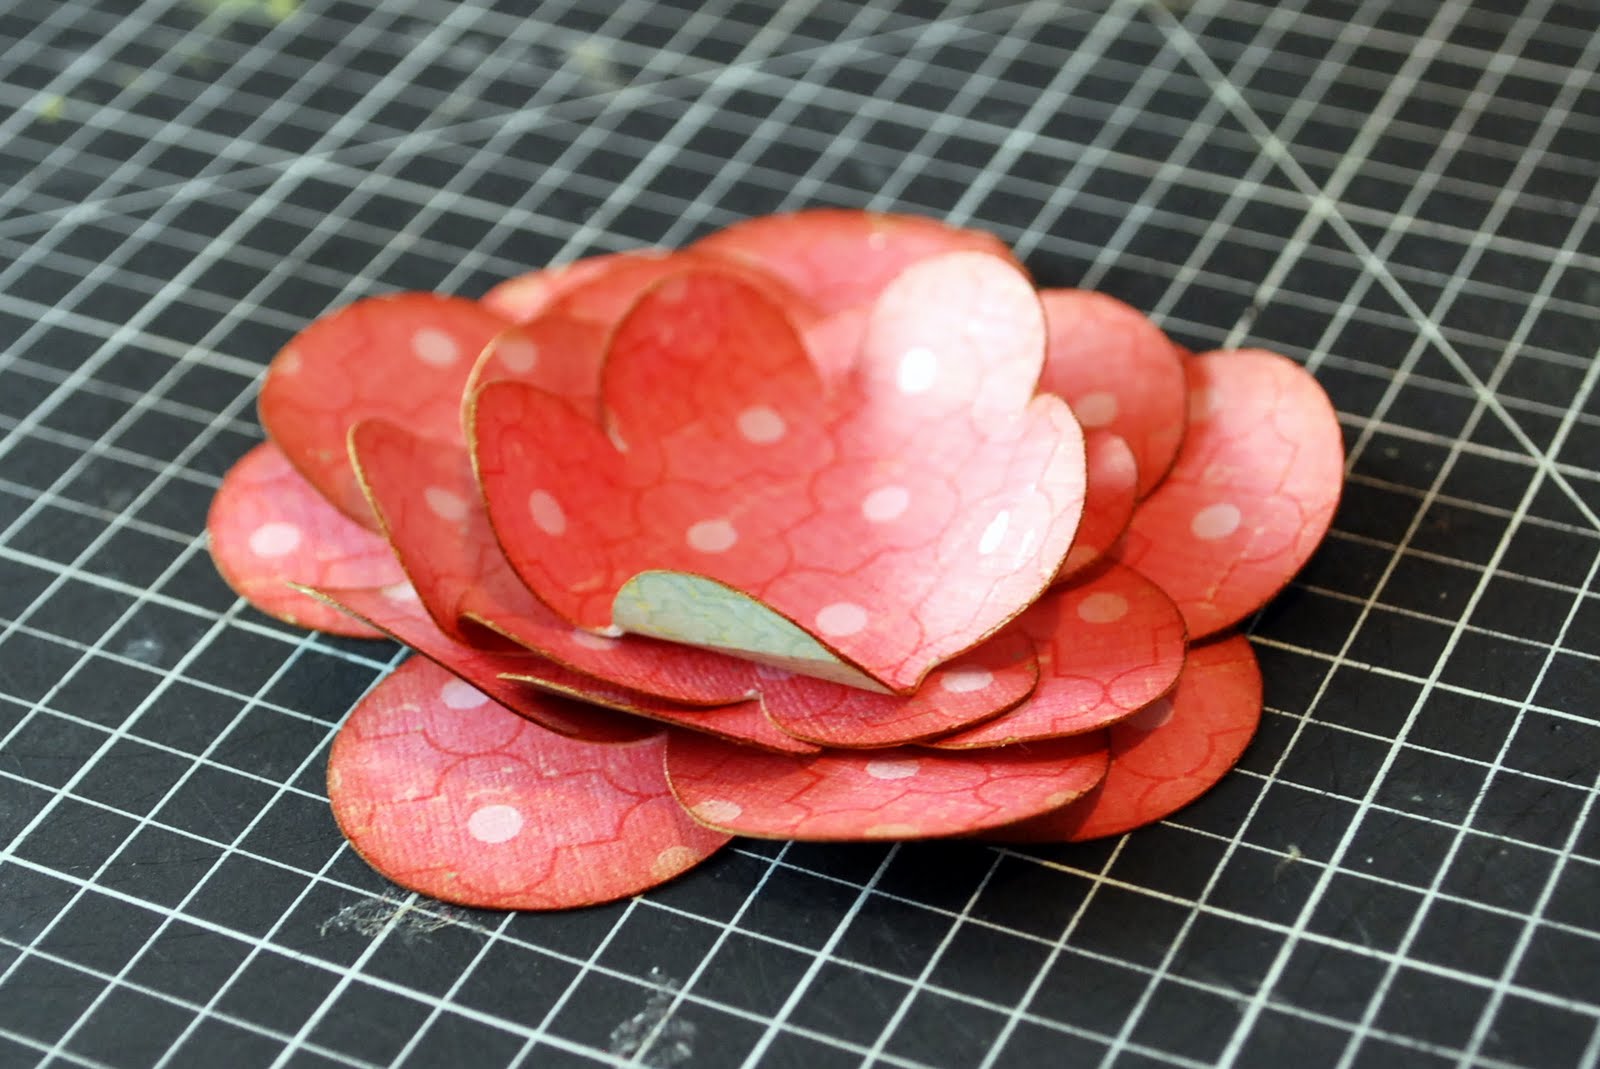 Here's a side view
 Next add some bling to the center of the flower. I chose to mix pearls and rhinestones.
 Here's the finished flower...ready to add to a layout, card or project.
Supplies you'll need:
Crate Paper Paper Doll collection :Emma
Slice Die Cutting Machine
Slice Basic Shapes 2 Cartridge
Love My Tapes Double Sided Adhesive
Tim Holtz Distress Ink :Vintage Photo
Tim Holtz Blending tool
Recollections Pearls
Queen and Co Rhinestones
super cute flower! :)
ReplyDeletesue-pah sweet!!!
ReplyDeletethanks for the layered flower tut! very cute!
ReplyDeleteThese are awesome flowers! I love them!
ReplyDelete