Today I have a layout to share with you where I used some of the fabric tapes in fun and different ways. Before I talk about the layout I have to say that I am totally in love with the fabric tapes, the adhesive is so sticky and there are so many things you can do with them!
Here's the whole layout, I got a little messy with this one and even went a bit outside my comfort zone...but I had so much fun creating it.
I covered the top of the little tag peeking above the photo with
Lemon Bar fabric tape, when you pull the tag out it reveals a little photo of the rock my daughter is holding.
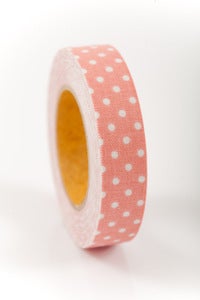
Banners are still a pretty hot trend right now and using the fabric tapes to make your own is so easy! I made my banner using some bakers twine and
Penny fabric tape. To make your own banner just cut a number of fabric tape strips the same size, peel the backing off then fold over the bakers twine, once you have all your pieces in place use your scissors to cut the tails. Voila you have a custom banner to match your project!
Using the same idea as the banner I made my own mini flag. Here I wrapped the tape around a stick pin, cut the tails then using some Stazon I stamped the word sweet. Wouldn't this be great for birthday cards or cupcake toppers?
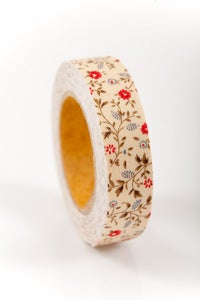
I really wanted to make a boarder with the fabric tapes so I pulled out my On The Edge Sizzix dies and cut the
Taffy fabric tape into these fun little boarders.
I even managed to get a little piece from one of the new Canvas Sticker Sheets on my layout, the piece with the stars & circles peeking under 2011.
Thank you for joining me today, I hope I've inspired you to have a little fun with your fabric tape!
Lisa

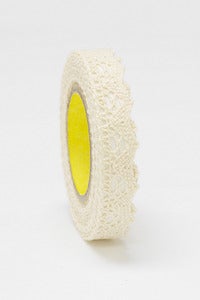
 I made this layout for my friend who was moving away. She wanted scrapbook pages as mementos of all her friends. We put our addresses on the back so she would have a way to get in touch with us. Isn't that a fun "address" book idea? I used THIS beige lace tape and THIS beige lace tape as well. I also used the Jane Fabric tape on this layout.


