Pages

Showing posts with label Home Decor. Show all posts

Sunday, July 19, 2015

Disney Inspired Picture Frame

Hi Everyone!!
Kimberly from Kimberly's Crafty Spot.
Today I am sharing Disneyland inspired picture frame featuring some
Love My Tapes washi tapes.


Close-up of the frame with the washi tapes.
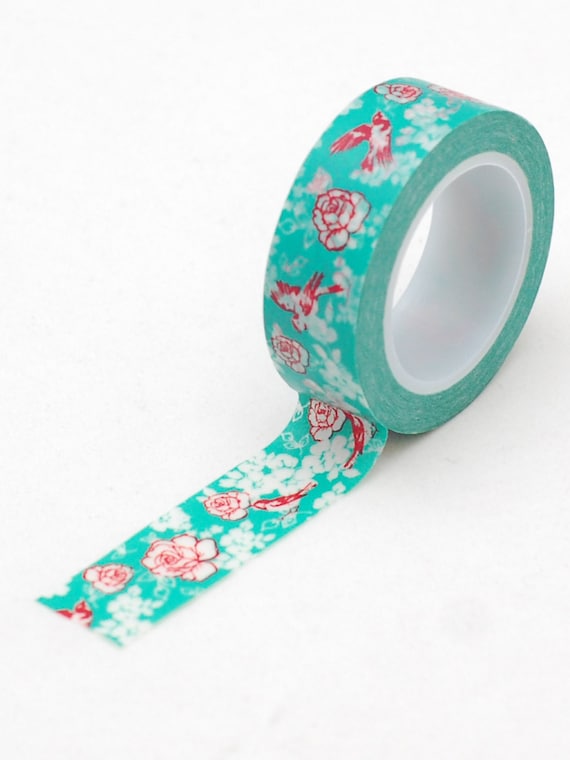
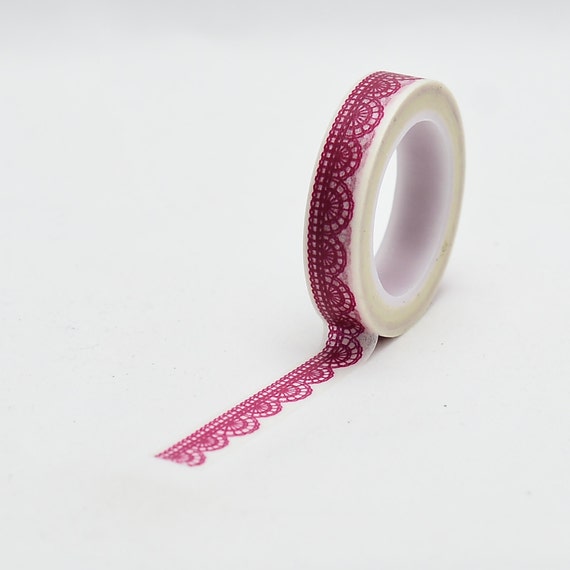
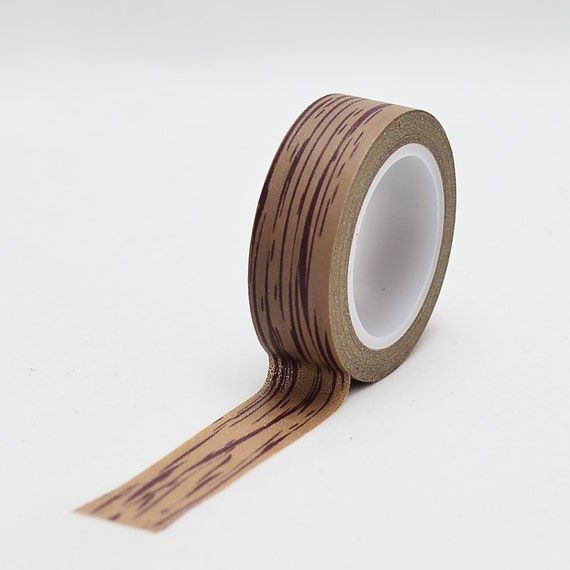
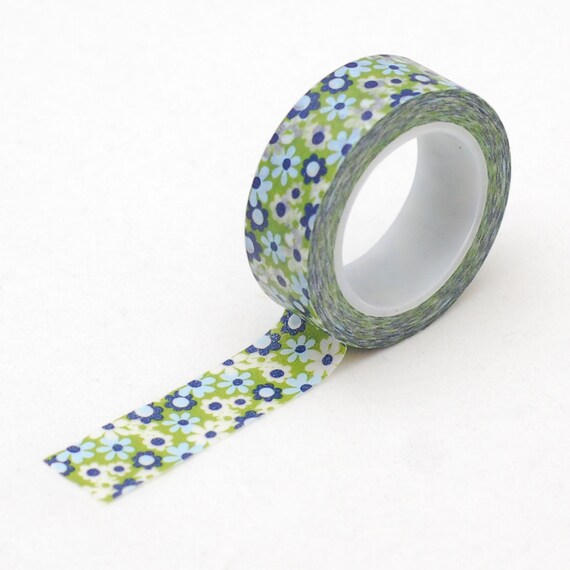
To cover my frame, I used several Love My Tapes washi tapes that I thought were
"Mouse/Disney inspired."
Yellowish Orange Chevron
Red and White
Black and White Stripes
Red Hearts
Cameras Black and White

I covered the frames with these tapes then gave the frame a few coats of Mod Podge Matte to seal the tapes to the frame. This didn't take long to dry and I don't need to worry about the tape coming off the frame. Then I added my die cuts to the outside of the frame with some foam adhesive to give them some dimension.
All done!


Love My Tapes Facebook page

Thanks for stopping by!

Check out my blog for all the details!
Have a wonderful day!
 

Saturday, June 27, 2015

Remodel a Birdhouse Using Washi Tape!

Hi everyone!

Lynn here today sharing a little craft that I did using tapes from the Love My Tapes Etsy Store.


I found a wood birdhouse that I purchased a few years ago and decided it was time to make it pretty!


This was a really easy project.  The hardest part was deciding what tape to use ;)
I covered the entire birdhouse with mod podge and let try over night.  The next day, I added some fiber and embellishment.


This birdhouse never looked so good!!

Ruby Lace Washi Tape - Love My Tapes - LMT 981
Ruby Lace wahi tape
Wood washi tape
Thanks for popping in today!!  Have a great weekend!
♥ Lynn

Saturday, June 20, 2015

Fun Father's Day Gift using LMT Washi Tape

Hi everyone!

Lynn here today.  Hope you are all doing well :)
With Father's Day right around the corner, I thought I would created a unique gift using some of the wonderful tapes available at the LMT Etsy Store.


I used washi tape around all the edges and matted each section with washi tape.
I am super excited at how it turned out and the kids can't wait to give it to hubby tomorrow.


This project was easy and fun to create.  I couldn't have done it without my washi tape :D

♥♥♥

Here is a link of the washi tape I used from Love My Tapes.  
Click on the link to go directly to the Etsy Store :D

Japanese floral washi tape - Masking tape - Love My Tapes
Green & Blue Japanese Floral wahi tape
Wood washi tape
Thanks for popping in!

♥ Lynn

Tuesday, May 26, 2015

DIY Washi Tape Dish

Hey everyone, Katie here! Today I wanted to show you guys this restyle I did with washi tape! I found this cheap glass plate at Goodwill and used one of my favorite tapes to give it a new look!


You'll need a small (saucer sized) plate and a roll of washi tape.

The how-to is SO very simple. Basically, you just cover the top of the plate in washi tape.


Once you have it covered in washi tape, flip it over and use some scissors to trim away the extra tape.


I wanted to seal my tapes, just so that they wouldn't get damaged, so I went over them with a gel medium.


Note- This is not dishwasher safe!! If you want to wash these, you'll need to buy like the dishwasher safe mod podge.

Monday, March 30, 2015

Quick Easter Decoration w/ Ange

 Good Monday morning to you!
It's Ange here today with a quick Easter decoration for you.

I have these fun little wooden magnets my husband cut out for me a few years ago when he made me a wire decoration for my living room, to hang my newly made layouts from. The magnets go over the screws he used to attach the decoration to the wall.


I'm constantly changing the layouts I hang from the decoration, so it's really fun to have these little magnets to change to go along with the current holiday. I put a base coat on them, but then wasn't sure what else to do, because, well..., its fun to change them each year, right?
Washi tapes were the perfect solution. Each holiday I can pull the magnets out, take the tape off from the year before and put some fun new tape on!


Here I've picked 4 different polka-dot colors from the store; yellow dots, purple dots, blue dots, & green dots. Then I layered them closely over each of my eggs.


Next you trim the edges with your scissors as close as you can then push the tape down along the edges.

Finish your eggs with a bit of ink or pen work. 

Here is what they look like hanging on my wall:
(click photo for a larger view)

Easy, fun, beautiful and different every year!
Thanks for stopping by,
:)Ange

Sunday, March 29, 2015

Nature's Window


Hi! It's Candy Spiegel here with a new project using the fabulous Love My Tapes washi tapes.

This project was inspired by a friend of mine. Click the link on my name to see her original design.

I started with a barn-wood frame, removed the glass, and added my favorite washi tape ...


To get this ....

Then, I added hardware cloth to the back of the frame and began decorating. I printed out a 5x7 picture I took recently and matted it. I gathered a bird's nest, some flowers and a few butterflies. Everything was wired onto the hardware cloth.

Many of the items were leftover from a previous project or two. I painted the little plastic bird, since he was a deep purple. I filled the little bottle with chicken grit (ground-up granite) and wired it on.

Then, I glued the Scrabble letters to spell "Nature" along the bottom.

I love how it turned out ... what do you think?

Monday, March 9, 2015

Spring vases with washi tape

Hello Love My Tape friends! This is Maya and I am very glad to tell you that the spring is indeed coming! Today was the first day that the temperatures climbed above 50F, the sun was shining and there was no snow in the forecast! To celebrate, I decided to refresh my decor - good bye snowman shadow box , hello spring flowers and bright colors!


I picked three small vases from Michaels and made them pretty with colorful selection of new Love My Tapes washi tapes.


I used two rows of pretty pink tape here. Love how it looks on the milk-white background.


I used one row of wide tape with beautiful vintage design. It is gorgeous by itself and I just added a thin ribbon.


Here  I used two rows of pink washi tape and added a row of rose floral washi tape in the middle.

Check our etsy store for more gorgeous designs! New tapes are added all the time so keep checking of you don;t see a particular tape in stock.


I  certainly home that the snow in my yard will disappear quickly, meanwhile I have my pretty flower vases to keep me in a spring mood.

Thank you for stopping by today!

Friday, February 6, 2015

Washi Tape in my Studio

Hey everyone, Katie here! Today I wanted to showcase a couple of the things I've embellished with washi tape in my craft studio.

I recently bought a couple of these gift wrap carts from Michaels. I customized them by spray painting them fun colors, but to add a little more embellishment I wrapped a little bit of washi tape around the bars as well! I liked the combo of the yellow paint with the black and white washi tapes.


I like to customize my small scrapbooking tools as well, like this sticker maker by Xyron. I used one of my favorite floral washi tapes and added it along the sides of the X.


Do you use washi tape to customize your tools or studio?

Tuesday, November 18, 2014

Jingle All The Way - Glitter Adhesive Cardstock

Hello Love My Tapes friends! Marcia here today with a home decor project you can make for gifting... or keep for yourself  (because it is so gorgeous!)  It would look perfect on a mantel.


I saw a lot of these on Pinterest last Christmas, but mostly with black vinyl lettering and a splash of red. I thought the kids would love a blue Frozen version with the help of a few Doodlebug stickers and paper.


The Love My Tapes glitter adhesive cardstock cute beautifully with my Silhouette.


so.... Now I need to decide whether to gift this beauty.... or keep it for myself.


Thanks for stopping by.
~Marcia

Wednesday, October 15, 2014

Canning Lid Pumpkin with Washi Tape!


Hello everyone. Marcia here today. I got a new shipment of Love My Tapes washi, fabric, and lace tapes to create with and I was so happy, happy, happy to see there was some orange washi tape! I saw this really cute pumpkin on Pinterest made with canning lids and wanted to make one too. This was my inspiration found on YellowBlissRoad ...


I LOVE this! And since I did not can very many tomatoes this year, I thought ... Hey, I have canning lids! You would not believe how easy these are to make. You could do it in 10 minutes. There is a tutorial on YellowBlissRoad, but basically you just tie the lids together with string.

I decided some orange washi tape on those lids would be a fabulous addition. I covered each lid with this gorgeous orange chevron washi before stringing the lids together. Here is my washi tape canning lid pumpkin...


Gorgeous Right!!


I used 24 canning lids for my pumpkin and not even one roll of washi tape in case any of you would like to make one too ;)

Thanks for stopping by. Have a great week!
~Marcia

Thursday, October 9, 2014

Glitter paper garland

Hello Love My Tapes fans! This is Maya and today I am going to share a sparkly paper garland. 

We are in the midst of the Jewish holiday Sukkot where we build a small hut (sukkah) in our backyards and eat our meals inside the sukkah. One of the best part of the holiday is the decoration. The sukkah is often decorated with fruits, flag and garlands.

I used the brand new 12x12 glitter cardstock from Love My Tapes. For my first garland I punched two sizes of circles (make sure you use a heavy duty punch) and sandwiched a piece of string between two circles. The cardstock has an adhesive on the back so I didn't have to worry about the edges coming apart.  


For my second garland I divided the 12x12 sheet into 2x2 squares and further divided them into triangles. 


I cut the triangles apart and sandwiched a piece of string between two triangles. This can be a great craft for kids and actually my daughter helped me to finish the garland.


We will hang our garlands in our sukkah and they will bright our holiday meals for the next week.


My 6 years old was so mesmerized by all the sparkles that I had a hard time keeping him out of the pictures. I consider that as success :)

Thank you for stopping by today! Have a sparkly weekend!