Pages

Showing posts with label tutorial. Show all posts

Tuesday, May 26, 2015

DIY Washi Tape Dish

Hey everyone, Katie here! Today I wanted to show you guys this restyle I did with washi tape! I found this cheap glass plate at Goodwill and used one of my favorite tapes to give it a new look!


You'll need a small (saucer sized) plate and a roll of washi tape.

The how-to is SO very simple. Basically, you just cover the top of the plate in washi tape.


Once you have it covered in washi tape, flip it over and use some scissors to trim away the extra tape.


I wanted to seal my tapes, just so that they wouldn't get damaged, so I went over them with a gel medium.


Note- This is not dishwasher safe!! If you want to wash these, you'll need to buy like the dishwasher safe mod podge.

Wednesday, May 20, 2015

Washi Tape Art Journal Page

Hi guys, Katie here! Today I wanted to show you how I created the background on this art journal page.


You'll need 2 or more different patterns of washi tape to make this look. I used a pretty floral yellow and a contrasting teal tape. You can find our tapes in the Love My Tapes etsy shop here.

Start by placing a strip of your first color across your page. It can be any direction you want.
Next take your second color, placing a strip next to the first. Repeat this a couple of times.

Now you need to fill in the rest of the page. Turn your page 90 degrees and place the edge of your tape against the tapes you already stuck down.
So your strips of tape are going in the opposite direction as the first few.

Repeat until you've covered your page, turning your page as you need to and changing the direction of your tapes.

If you overlapped your tapes any, you can use a craft knife to clean them up.


Here is my finished page in my art journal:


Thanks for stopping by today! -Katie

Saturday, May 2, 2015

Great Job Mom! ~ Tutorial

Good morning everyone, Lynn here today sharing a Mother's Day card that I made using three different rolls of washi tape.  Scroll down for a little tutorial.


You can use your favorite die-cut machine or punch to cut out the quote or shape you need for your project or card.  After I cut out my quote, I placed the die-cut paper over another sheet of cardstock.  I traced lightly around the inner letters, careful not to leave any marks on my cardstock.


Here is what it looks like when you remove the top sheet.


Then I adhered the strips of LMT washi tape over the sections.


Now adhere your die-cut sheet on top and align.


There you have it!  Another fun way to play with LMT washi.  You can add other embellishments if desired.  I added a flower in the centre.


Click on the link to go directly to the Etsy Store :D
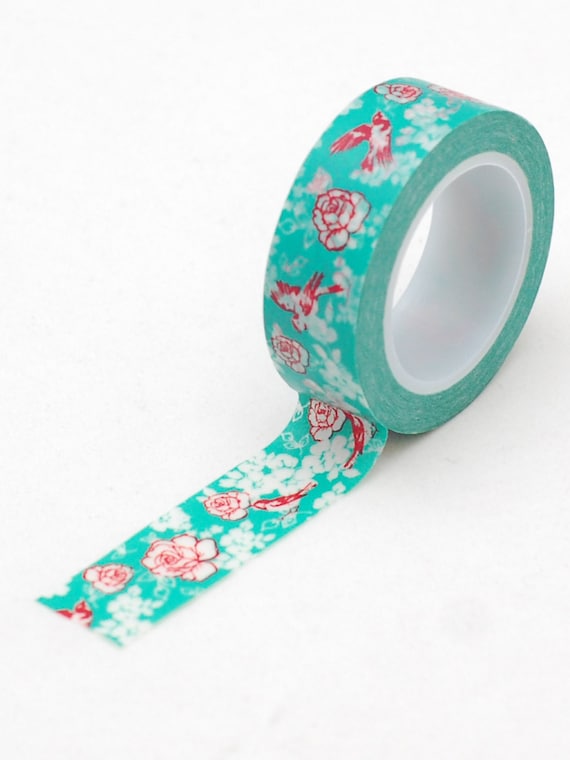
Japanese washi tape- Turquoise bird and floral- masking tape -Love My Tapes
Turquoise, Birds & Floral washi tape
Thanks a bunch for the visit today!  Have a great week!

Lynn

Thursday, March 5, 2015

Mixed Media Project Life Cards

Hey everyone, Katie here! Today I wanted to share how I made these fun, messy, mixed media project life cards using a washi tape background.


I started by just cutting cardstock into some 3x4" and 4x6" cards and then covered them in my favorite black and white tapes. I wanted to tone down the boldness of them though, so I also gave them a coat of gesso.


Next I took some Shimmerz sprays and added a bit of brightness to my cards.


After they dried, I used our adhesive runner to attach some transparencies (by MAMBI) over top of my cards. I was surprised (in a good way!) about how clear the adhesive was. This was the first time I'd used it under something clear and you couldn't even see it!


Thanks for stopping by! Have you used your tapes with mixed media supplies?

Thursday, December 18, 2014

Fabric Tape Bound Mini Album

Hey everyone, Katie here! Today I wanted to take a break from all of the Christmas projects to share with you guys this mini album I created using some pictures from a camping trip.

I make a lot of mini albums so I know a few different techniques for binding them. I created this one by using fabric tape for the binding. Here's how:


1. Start by cutting out your pages and front/back covers  from patterned paper or cardstock.

2, Place your cover face down onto your workplace with your first page face up right next to it. Take a strip of fabric tape and place where to 2 papers meet. Press firmly.


3. Fold your first page over to the left and repeat step 2 with your next page, lining it up and adding a strip of tape.


4. Repeat until you have all of your pages and back cover. I also added a couple of fabric tape strips around the back edge to hide where the pages are on the back.


I used a couple of my favorite black and white washi tapes on the inside pages as well.


Thanks for reading! :)

Monday, September 22, 2014

Box Card with Printed Washi Tape

Hello Love My Tapes friends. Marcia here today. I have been experimenting with printing on washi tape using my computer. Think about all the free fonts available. Not just fonts, what about dingbats? No, I am not talking about a stupid person, but a type of font. 

"A dingbat is an ornament, character or spacer used in typesetting, sometimes more formally known as a printer's ornament orprinter's character. The term continues to be used in the computer industry to describe fonts that have symbols and shapes in the positions designated for alphabetical or numeric characters."

Free fonts and dingbats can be found all over the internet. You could personalize your washi tape with endless possibilities. Want to see what I discovered....

I created this word doc on my computer that combined some of my favorite fonts with some fun dingbats I found....


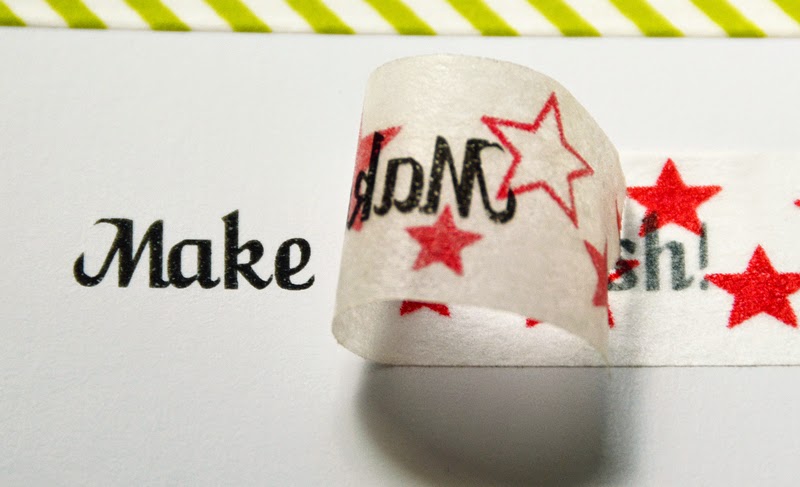
Print it onto glossy photo paper. (Very important so the washi tape will peel off easily.)

Layer a strip of washi tape over the top of the printed words or images. Choose washi tape with muted colors and patterns that won't be distracting.


See how some tapes were better options. The yellow easter eggs turned out best I think. The Robots with the blue stars ended up being too distracting. When you are ready to use the washi, gently peel away from the paper.


I have an inkjet printer. This technique will only work with inkjet printers. If you have a laser printer, check out this link for info How to print on washi tape at Ashbee Design. I did try printing directly onto the washi tape but the inkjet inks won't dry and will eventually smear. 

Here is what I created with my dingbat Santas (which by the way were a dead ringer for the Fancy Pants Merry Little Christmas collection!)


Don't worry, these cards fold flat for mailing. I even created a coordinating envelope.


I hope you give this technique a try.  If you like, you can download a PDF of my WashiDingbats file from here.
~Marcia

Monday, August 11, 2014

Washi Tape Gift Wrap

Hello Love My Tapes friends!  Marcia here today with a washi tape gift wrap idea to share with you. Did you know that washi tape is a fabulous way to add pizzazz to a wrapped gift. I was headed to a wedding shower last Sunday and thought my gift wrapped package was boring. Plain silver paper and I didn't even have a bow. Then I remembered I had this incredible wedding themed washi tape. Washi tape to the rescue! Take a look at my gift now ...


Want to see how I made that bow?  I thought you would.

1. I applied washi tape to white cardstock and trimmed the cardstock into strips.


2. Glue the strips so you have 3 loops about the same size. You will also need one smaller loop for the top of the bow. 


3. Arrange washi loops on top of each other and put a staple or two through the middle.


4.  Add some twine loops too if you want. Then tape the smaller loop on top.


Well the bride is a scrapbooker and was so thrilled with the gift wrap that she saved the wrapping. That washi tape will peel right off when she is ready to use it on a layout :) 

I hope you will be adding some pizzazz to your own gifts that need wrapping. Have a great week!
~Marcia

Thursday, June 26, 2014

Baby Card with Lace Tape

Hello Love My Tapes friends! Marcia here today sharing a baby card I made with adhesive lace tape. When I received this onesie card die cut from Top Dog Dies, the first thing I thought of was adding some ruffled lace to the back side of the onesie. I loved dressing my girls up when they were babies with clothes that had ruffled butts :)  It was easy to do with Love My Tapes adhesive lace. This lace is one of my new favorite things to hoard, lol. The onesie card could be used for a baby shower invite, a baby shower card, a thank you card, or as a baby announcement. Here is the card I made ...


There is a die to cut an insert for inside the card that you can use to add a writing space. I love that Top Dog thought of this, because most pattern papers are double sided.


and my favorite back side view...


Now I said this lace had an adhesive back, so how did I keep it from sticking to everything where the lace is peeking out at the leg openings? I applied some baby powder to the sticky side using my EK Success Powder Tool. Now my card even smells like a baby :)


If you love crafting with lace, you NEED to try lace tape. It's so much easier to use than trying to glue lace down. 

Thanks for stopping by.

Tuesday, May 20, 2014

An altered tin and punched flower tutorial

Hi Love My Tapes fans, it's Jaclyn here today.  I'm excited to be sharing my first design team project with you - an easy altered tin.  It's just perfect to house all the sweet little barrettes and hair ties I keep collecting for my little girl.  Based on the color scheme of supplies you choose, this project could easily be adapted to give as a gift to a teacher friend or neighbor.  Fill the finished tin with pencils, homemade cookies, store bought chocolates or even a small bouquet of pretty flowers.


Isn't it sweet?!  And the best part is, it's so very simple with the help of a stash of LMT's fabric and washi tapes.  The first step is to gather your supplies, as shown below.


As you can see, I grabbed an old cocoa tin and discarded the lid, for the base of my project.  LMT's pretty striped fabric tape was the perfect element to cover the outside of the tin.  Because of it's opaque nature, the fabric tape completely disguises the text and icons on the original piece. 

My next step was to create some fun embellishments to pretty up the container even further. Reaching for the aqua chevron washi tape was an obvious choice for me, as it would perfectly compliment the colors in my little girl's room.  Making the washi tape flowers was simple.  I first grabbed a scrap sheet of cardstock and layed three rows of tape down, being sure to match up the chevron pattern.  Since I knew that the underside of some of the flowers would show, I did the same thing to the back side of the paper, as well.


I used some of my favorite punches and dies, and punched a slew of flowers from the strips of washi paper, I had just created.


The final step is to layer the flowers and curl up the edges of each petal to provide more dimension. 


Once the flowers are adhered together you can finish them off with a button or enamel dot center.


A small bit of hot glue is the key to adhering your homemade washi tape flowers to the fabric covered tin.

 
Thanks for stopping by today!  I'd love to know if you give this ideas a try.  If you do post a picture to our facebook page and share with us and the Love My Tapes community!