Hello Love My Tapes fans! This is Maya and today I am going to share a quick teacher thank you card.
I started by covering the card base with few rows of black washi tapes. I used Chalkboard Numbers, Black Floral and Black Grid.
I added two pieces of patterned paper - the bottom is 3.5"x3.25" and the top is 3.25"x3" including the punched edge.
I added an apple and "thank you" sentiment that I cut with Silhouette Cameo from vinyl but any store bought embellishment will work great here.
By changing the colors of the patterned paper I made a sweet set of matching cards - ready to be given to the teachers,
When I make card sets I like to keep the design the same and change just one element. Another option would be to change the colors of the washi tape.
Thank you for stopping by today!
Showing posts with label cards. Show all posts
Tuesday, June 16, 2015
Thursday, June 4, 2015
Plaid with Washi
Charity here from Scrappin' Chaos to
share a pair of plaid cards.
These beauties took a little planning,
but they sure are fun!
For the bunny card I choose washi
colors that meshed well with my background plaid paper. The bunny
die-cut and white ribbon made the card oh-so classy.
But that just wasn't enough plaid for
me.
I used the same colors and extended the
pattern for the flower card.
Use the self-adhesive nature of washi
tape to make your own plaid patterns.
Lay your tape on waxed paper and curl the end around a tooth pick.
Have a little fun with the weaving then
transfer your artwork to cardstock.
Just another use for washi and another
reason to love paper crafting!
Check my blog Scrappin' Chaos for a list of supplies.
Scrap On!
~charity~
Monday, May 18, 2015
Graduation cards w/ Ange Weisbeck
Hello there! Ange here today with a couple of Graduation cards.
It tis the season after all!
I started with an older Graduation Day line from Moxxie, that I still have in my stash. What better way to spruce up an old line than to add NEW tapes right?!
I layered the Yellow and Blue Stars tapes on this card.
They perfectly match our school colors!
For this card I picked 3 patterns from the yellows to match our school colors, then layered them on the base of my card before adding the embellishments.
Using the polka-dot, stripe and star tapes, I layered a strip and then cut each end into a banner for a little subtle detail.
I'm off to make some more graduation cards and using Love My Tapes makes it so easy!!
:)Ange
Tuesday, April 28, 2015
Clean And Simple Cards
Susie here today with a couple more CAS cards.
These Clean And Simple cards require a little bit more work than the set I shared with you last week - but not much! We all have some fun stamps in our collections, right? Combining them with ready made images and strips of washi can help you quickly stockpile some very cute all occasion cards!
The tapes I used for these cards can be found in the Love My Tapes Etsy shop:
![]() |
| Clouds with Love, Red and White, Wood washi tapes |
Here's a closeup of the wood grain tape I used.
These cute cards were so fast to make! I think it took about 20 minutes total for both cards! You can find the supply list on my blog HERE.
Thanks for stopping by and I hope you find some time to play (with washi tape) today!
Monday, April 27, 2015
Floral card with wide washi tape
Love My Tapes has an awesome selection of beautiful wide washi tape, like this one.
It is 1 3/16" wide and can be treated as a miniature patterned paper.
I layered few pieces of washi tape on top of a vellum sheet and cut out the flowers. I than layered them on top of each other using foam tape to create a flower bouquet.
The tape already had the word "flowers", I added the letter stickers to complete the sentiment, pink stickles and few jewels.
Thank you for stopping by today! Happy crafting!
Tuesday, April 21, 2015
Cute CAS Cards for All Occasions!
Hello Washi Tape Fans!
Susie here today to share a couple of Clean And Simple (CAS) cards. I do not make cards very often and these are just my style! They are quick and easy and incorporate just a few elements:
a stamped sentiment, a photo sticker, and washi tape!
I chose these 2 rolls of washi, which you can find at the Love My Tapes Etsy store, because they coordinated with the Paper House Snapshot Sticker images I wanted to use:
![]() |
| Triangles Washi, Bunny Frog Washi |
Did I mention these cards are super simple? I started by cutting a piece of 8.5" x 11" white cardstock in half and folding it to create a card. Next I laid down a strip of washi about half an inch up from the bottom.
I stamped the sentiment, applied the photo sticker and the card was done!
I love the way the washi tape makes the colors in the photo sticker *pop*!
The next card was almost as fast. This time I created the base out of grass green cardstock. I trimmed the white cardstock to 4"x 5.25" and adhered the panel to the front of the card.
I thought the whimsical critters and the colors on this washi tape were a good match for the fun photo sticker and the "happiness" sentiment! Who doesn't love a cute kitty card?!
Two seriously cute cards in about 10 minutes!
It took longer to gather and put away my supplies than it did to make them!
Thanks for stopping by and I hope you find some time to play (with washi tape) today!
Thursday, April 16, 2015
Easy Birthday Cards
Hey everyone, Katie here! I recently got abunch of new tapes (You can buy Love my Tapes in our etsy shop!) and one of them was this "Happy Birthday" sentiment tape. It's perfect for birthday cards!
I made these 2, somewhat matching, birthday cards using it + a couple of other fun tapes.
I also made this birthday card. While it doesn't match the other 2, I needed a special birthday card (for someone who likes planes) and so I pulled out my tapes again.
For this one I just tore off 1 "Happy Birthday" sentiment and stuck it on. So easy!
This might be my favorite new tape, at least for making birthday cards!
Wednesday, April 1, 2015
Mini card set with washi tape
Hello Love My Tapes friends!
This is Maya and today I am going to share a simple mini card set using minimal supplies.
I started by making 2.5"x4" card fronts. I used Print and Cut feature of my Silhouette Cameo to print and cut out the card front panels.
I added few rows of black washi tape in different patterns and finished with handmade book print flower.
I had a great time picking different colors of washi tape and matching it with different color of flowers. I used various types of mists for the flowers.
This is Maya and today I am going to share a simple mini card set using minimal supplies.
I started by making 2.5"x4" card fronts. I used Print and Cut feature of my Silhouette Cameo to print and cut out the card front panels.
I added few rows of black washi tape in different patterns and finished with handmade book print flower.
I used foam tape to add the card front to the mini card that is just a regular A2 card cut in half.
I had a great time picking different colors of washi tape and matching it with different color of flowers. I used various types of mists for the flowers.
These cards look fabulous on their own and together as set. It could be a great gift for somebody special.
Thank you for stopping by! I hope I inspired you to make some sweet mini cards. Here is what I used.
Monday, March 2, 2015
Music notes card
Hello, Love My Tapes friends!
This is Maya and today I am going to share a card made with my favorite technique - scraplifting yourself. :-)
One of my most favorite cards I made with is this one, using piano keys washi tape. Sadly that tape is not available any more, but I was very excited to find a musical notes tape in my Design Team package. I decided to make a similar version of the card. I picked two more rolls of washi tape in similar colors - vintage air mail and vintage back and cream tape.
I layered 4 rows of tape (I used two rows of the vintage air mail) and added flowers, pearls and bling from my stash. I used black and white grid washi tape to make the leaves by folding the tape and cutting out the leaf shape with the scissors.
I added a sentiment cut with Silhouette Cameo from black vinyl.
Thank you for stopping by today! Hope I inspired you to take your favorite project from the past and make it new with new products,
This is Maya and today I am going to share a card made with my favorite technique - scraplifting yourself. :-)
One of my most favorite cards I made with is this one, using piano keys washi tape. Sadly that tape is not available any more, but I was very excited to find a musical notes tape in my Design Team package. I decided to make a similar version of the card. I picked two more rolls of washi tape in similar colors - vintage air mail and vintage back and cream tape.
I layered 4 rows of tape (I used two rows of the vintage air mail) and added flowers, pearls and bling from my stash. I used black and white grid washi tape to make the leaves by folding the tape and cutting out the leaf shape with the scissors.
I added a sentiment cut with Silhouette Cameo from black vinyl.
Saturday, February 21, 2015
A duo of happy and bright cards
Happy Saturday LMT friends! It's Jaclyn here today hoping to bring you a little bit of sunshine and happy on your Saturday morning. It's been snowy and COLD where I live in the Midwest, so naturally I've been craving anything and everything to help me stay warm - both physically and even in my crafting! I've been reaching for bright and tropical colors to cancel out the cold and my two cards I have to share with you today, reflect just that! Here's a look...
I originally started off these cards not intending to use a stitch of washi tape - *GASP*, I know, right?! I was in the mood to attempt some watercoloring and wasn't even sure the end result would end up on an actual project at all. After playing with watercolors, stamping, embossed images and even a little stitching here are the pieces I ended up with...
I knew that the rainbow of colors, would find a happy home as the focal point to a couple of cards. I wanted the watercoloring that I had spent so much time on, to be the focus of the card, so I thought I would simply mount them atop a colorful cardstock base.
The end result was pretty, yes, but seemed a little too plan and was definitely missing something. So, what to do? I reached for my LMT washi stash, of course!
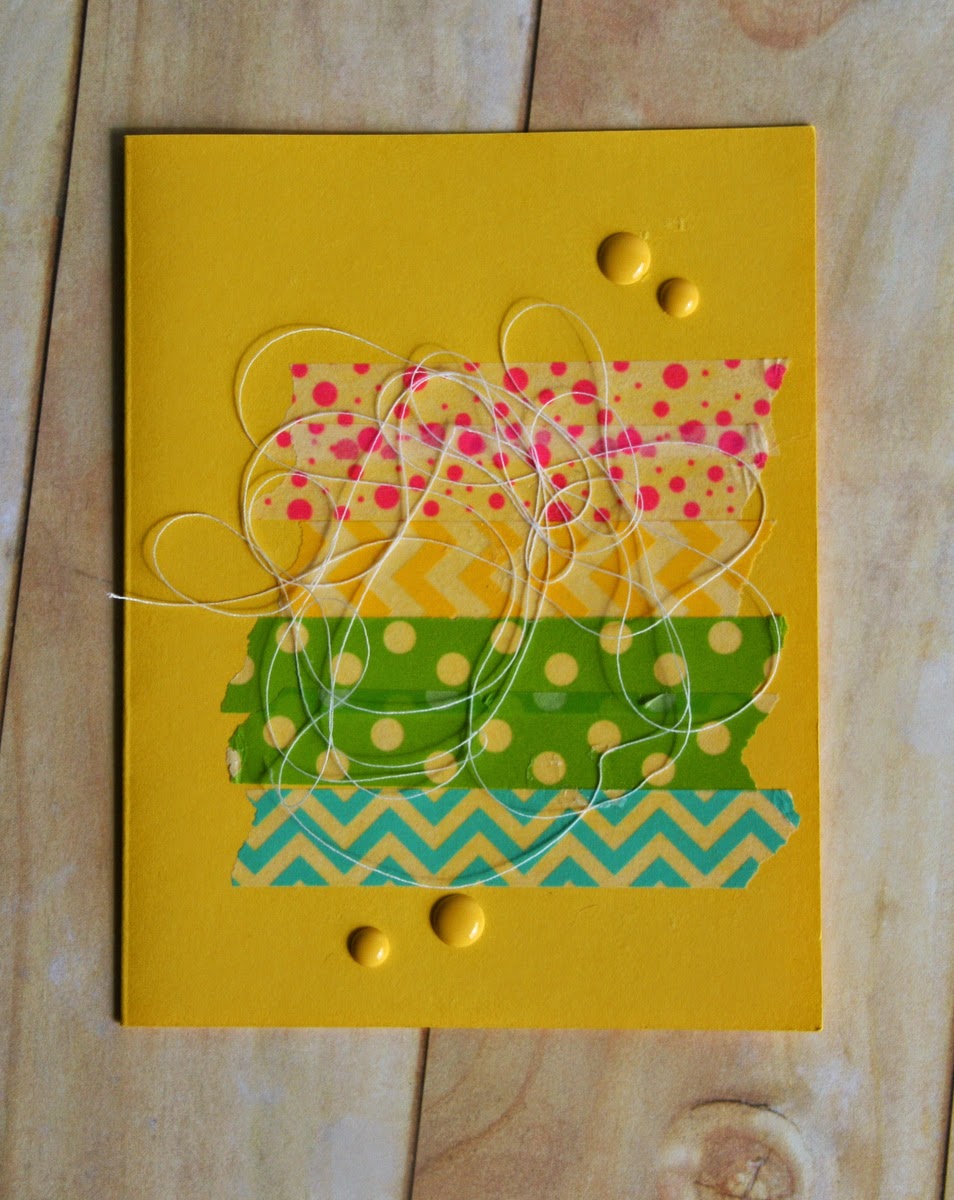
For the yellow card, I laid down strips of washi tape to match my rainbow of watercolors, accented with a couple of tone on tone epoxy dots and even added in a bit of messy thread to complete the 'artsy' look.
I used a bit of foam adhesive to layer and pop my watercolor piece over the background, and I knew my card was complete!
I was determined that the next watercolored piece (shown above) would look just fine on a solid background. I had stamped and embossed that image in a bold black and even included a couple additional lines of sentiment. I knew those two factors would give it more substance to stand alone on a card front.
Again, the results were pretty and the card could have been left alone at this point. But I had such great success with the washi tape in the last card, I knew this card would benefit from some washi magic, as well!
This time, I decided to add some texture with a dry embossed background and a hint of lace tape.
This was definitely a more subtle transformation than the last card, but worked well since the watercolored piece took up a more substantial area of the card front. I love the bit of texture the lace tape adds, as well as the focus it draws to the sentiment toward the bottom of the card.
I hope these cards have brought a little happy to your weekend! Come back and visit us soon, as the new DT girls will be filling up the blog in the coming weeks with all kinds of inspiring projects!
Subscribe to:
Posts (Atom)